How to Add the Chat Widget to Funnels, Websites, and WordPress Sites?
Installing the PROSPER OS™ Chat Widget on your website is one of the easiest ways to generate leads without ad spend.
The Chat Widget supports Live Chat (useful for companies with sales and support teams read to respond right away), SMS messaging, and WhatsApp messaging (if enabled on the account).
In any case, the Chat Widget installation is simple and requires no development knowledge or technical skills.
How to install the Chat Widget to a funnel and or website built directly in PROSPER OS™
How to Set Up and Test the Chat Widget?
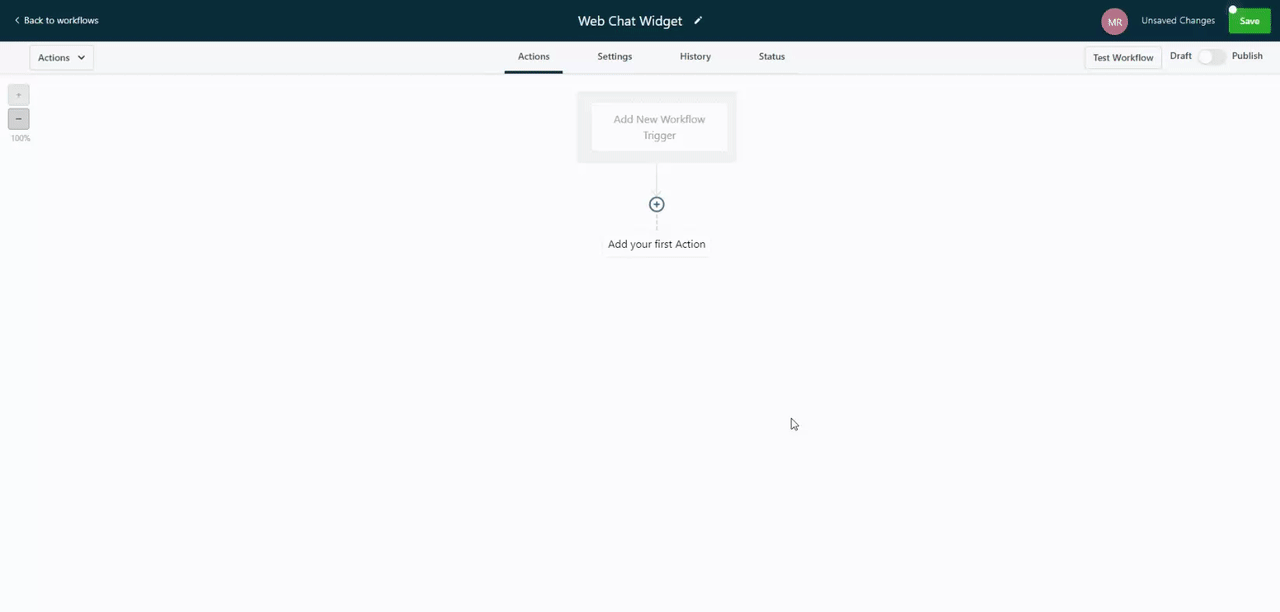
Step 1: Once you have a chat widget set up, you'll want to configure a Workflow Trigger to notify when a conversation is initiated via the chat widget.
To do this, the trigger event should be "Customer Replied" with a filter for "Reply Channel" set to "Chat Widget" like this:
Step 2: Next click the + > Search for "Internal notifications" > You can select from 3 options:
Email - Send email to a specific Users or custom email
In-app notification - Send a notification via the web app or mobile app to a specific Users or all
SMS - Send SMS to a specific Users or custom number

How to Set Up and Install the Chat Widget on a WordPress Site?
Step 1: login to your WordPress dashboard.
Step 2: go to Plugins > Add New Plugin
Step 3: search for "LeadConnector"

Step 4: click Install Now
Step 5: click Activate

Step 6: in your PROSPER OS™ dashboard, go to Settings > Business Profile, scroll down to see the API Key.

Step 7: Copy the API key and then paste it in the WordPress LeadConnector plugin and click Save
How to Install the Live Chat Widget in other Platforms
Frequently Asked Questions
Can I customize my chat widget messaging per page?
The current configuration of the webchat widget does not allow for dynamic messaging. Although the widget can be used on multiple pages, the messaging will remain consistent with the initial setup.
Can I create multiple chat widgets in a sub-account?
Yes, you can create multiple chat widgets with different goals, and knowledge bases.